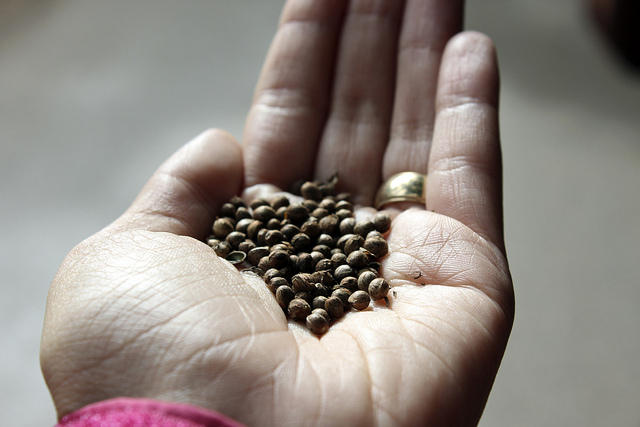
Seed starting tips
Start fruits and vegetables early Most fruit and vegetable seeds can be started indoors around the end of January or at the beginning of February. This will give them the six to eight weeks they need to get a strong and healthy start and reach a height of about eight inches by when they'll need to be transplanted outdoors. Grow herbs as well Many preppers fail to see the value of cultivating herbs -- don't make this mistake. Herbs are known to boost flavor for survival meals, yes, but they also boost your immune system, as many of them have other medicinal properties, so making a backyard apothecary patch can increase your family's survival when times get tough. Common and medicinal herbs can be started in February and be transplanted outdoors as soon as there's no more threat of a hard frost. Get the right soil Each packet of seeds that you purchase will provide basic instructions for growing plants, including the recommended type of soil to get the best yield. You can purchase your own seed starting soil from a garden center or cultivate your own compost. Also, consider buying peat moss and vermiculite or perlite to add to the mix. Protect seeds from temperature changes All plants will need some sort of protection from drastic temperature changes. With this in mind, you should cover the seeds with clear plastic wrap to keep them warm. Make sure to poke a few ventilation holes in the plastic wrap to keep the humidity level from increasing too much -- this could cause mold to form on the soil or on the seeds. Once the seeds have sprouted, you can remove the plastic wrap or topper as long as the room or greenhouse is not too cold or wet. If it is, a drastic temperature change could kill the plants overnight. Most seeds also have greater sprouting success rates when exposed to consistent temperatures. You can place seeds on a windowsill to maximize their exposure to direct sunlight, but remember to check how the immediate environment feels, especially in colder climates. Harden your plants off before moving them outside All plants should be hardened off before they are relocated from inside to outside cultivation. Keep a checklist of the growing times of your plants to make sure that you are hardening them off at the right time. Each specific plant you have will most likely require specific steps for hardening off, so be sure to learn these, making sure that you are following the timing of each step. It is exciting to grow plants indoors, but remember to keep your garden space in mind when seeding to ensure that they have their own space when hardened off or cultivated outdoors. Learn more seed starting tips and starting your own garden at FoodSupply.news. Sources include: SurvivalSullivan.com PrepForSHTF.com
How to make and use vegetable powder
By Divina Ramirez // Share
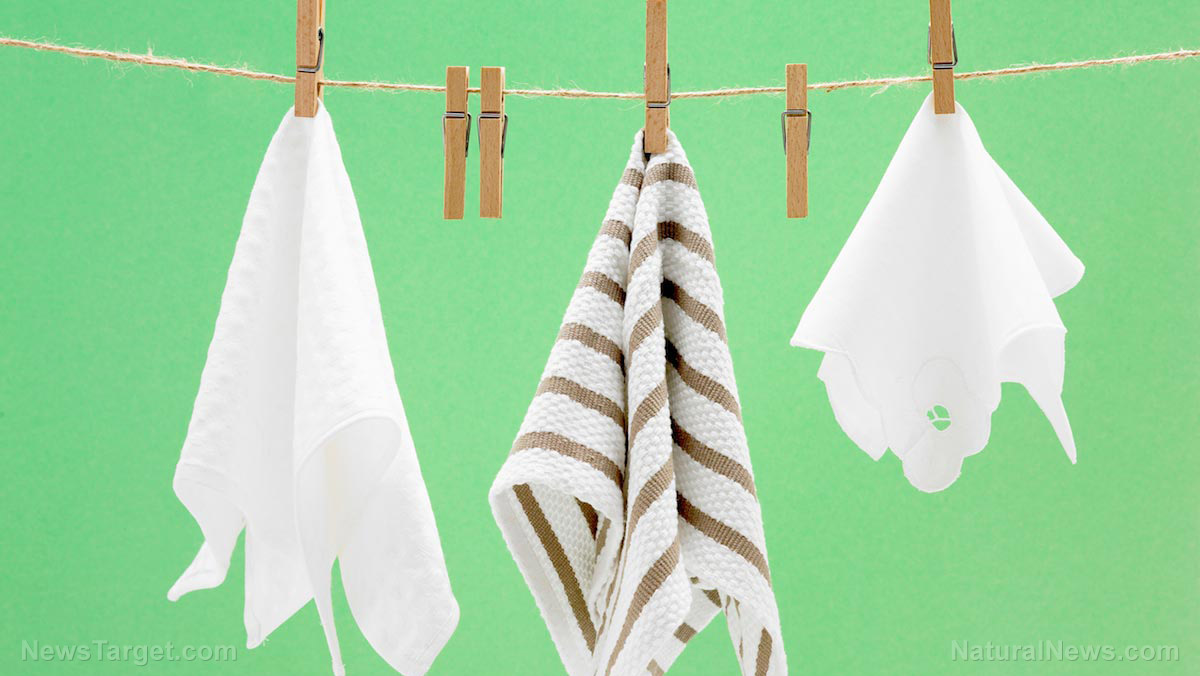
20 Clever ways to repurpose old clothes and towels
By Divina Ramirez // Share
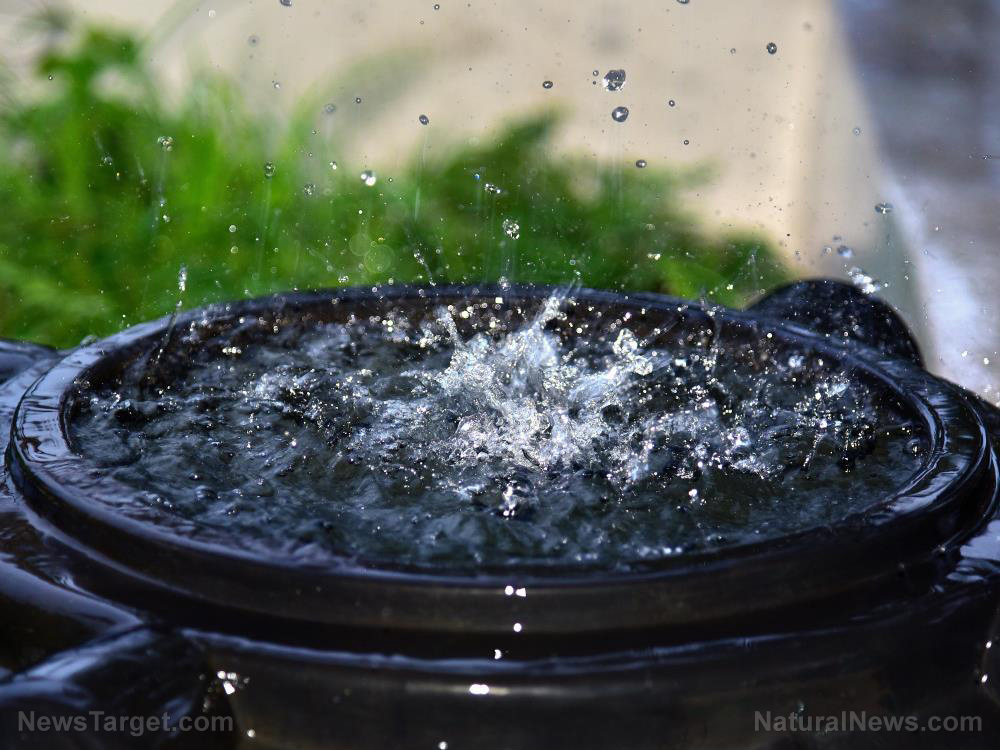
Five common mistakes preppers make when harvesting rainwater and how to avoid them
By Zoey Sky // Share
Prepper projects: How to make a non-toxic alternative to WD-40
By Zoey Sky // Share
By Franz Walker // Share
Homesteading 101: How to conserve water on your property
By Zoey Sky // Share


Australian Father Awarded $4.5 Million in COVID-19 Vaccine Injury Compensation
By morganverity // Share

Secret Service Official: Threat Level Against Trump Is At All-Time High
By garrisonvance // Share
U.S. Government to Evaluate Offshore Nuclear Projects in Federal Waters
By edisonreed // Share
EU approves watered-down Russia sanctions package after Greek pressure on LNG transport
By garrisonvance // Share